Some of my favorite programs for performing computer diagnostics are the kind that you just download and run. These applications are simple to use and can be deleted when I am finished with them. So here are some of my favorite portable programs for Windows 10.

Since I repair computers for a living, I use many different programs during my typical workday. Most of them I can store on USB drives for quick access.
But there are some programs that I like to download before I use them, as they are portable applications and do not require installation. Since they do not get installed, the only way to get the latest updated version is by downloading them.
Some of these programs have time stamps on them and will expire after a certain amount of time. So downloading them when I need them makes the most sense. The hardest thing about downloading them is remembering where you saved them.
All of the applications mentioned in this are article can run on any version of Windows currently supported by Microsoft. And the best thing of all is that they all are free to use.
CPU-Z
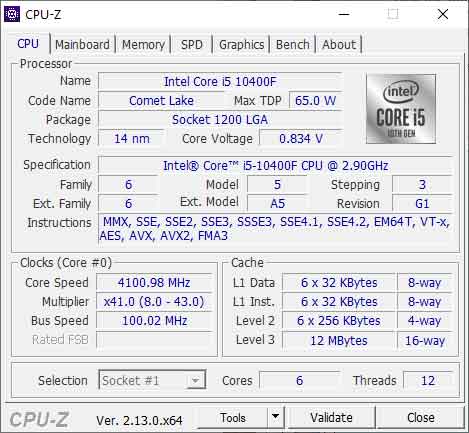
This is a convenient utility that displays the details of the installed processor, motherboard, memory, and graphics card in any given computer. This way, you do not have to disassemble a computer to determine what components it has installed.
CPU-Z comes in handy when you are looking to add or upgrade your computer's memory modules. I use it when a customer wants to upgrade the installed memory, as it displays the exact part number of all of the installed memory modules.
There are portable (ZIP) and installable (EXE) versions of CPU-Z and versions customized for particular motherboard vendors. If you are going to use CPU-Z to measure system performance between different BIOS settings, the installed version may be the best bet.
But if you are only going to run it a couple of times, then the stand-alone version will work quite well. All you have to do is extract the files inside of the ZIP archive, and you are ready to go.
For more information on CPU-Z, just follow the link below.
CPU-Z
Advanced IP Scanner

Have you ever added a new device to your network and then could not find it? That is where Advanced IP Scanner comes in handy. It can scan your network and find network devices, shared folders, and shared printers. You can even use it to access other network computers remotely.
Advanced IP Scanner can be installed or run as a stand-alone program. When you download the program, it comes as an EXE file. When executing it, you have the option of installing it or just running it.
If you are only going to use it a couple of times, then the stand-alone version will work. If you are going to use it regularly, you may want to perform a complete installation.
For more information on the Advanced IP Scanner, follow the link below.
Advanced IP Scanner
Adwcleaner
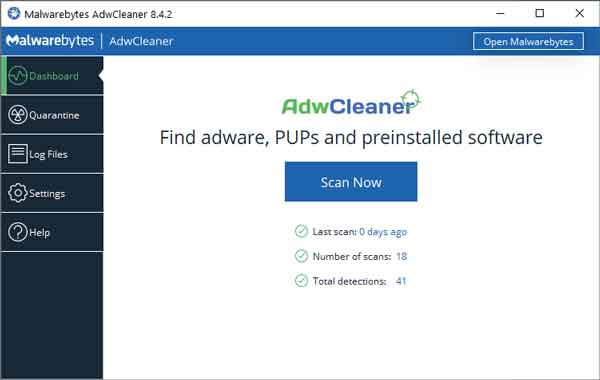
This is by far my favorite tool for cleaning up Internet browsers. Just download and run Adwcleaner to remove adware and PUPs (Probably Unwanted Program) from your favorite browser.
Unlike the rest of the programs in this article, when Adwcleaner downloads its latest database, it also checks for a new version of itself. It will download an updated version but does not remove the previous version. It has to be removed manually.
Besides cleaning up browsers, it will also clean up and reset the TCP/IP network stack back to the default settings. And if you only need to run it a couple of times, it can delete itself and all of its quarantine files.
For more information on Adwcleaner, follow the link below.
Adwcleaner
Microsoft Safety Scanner
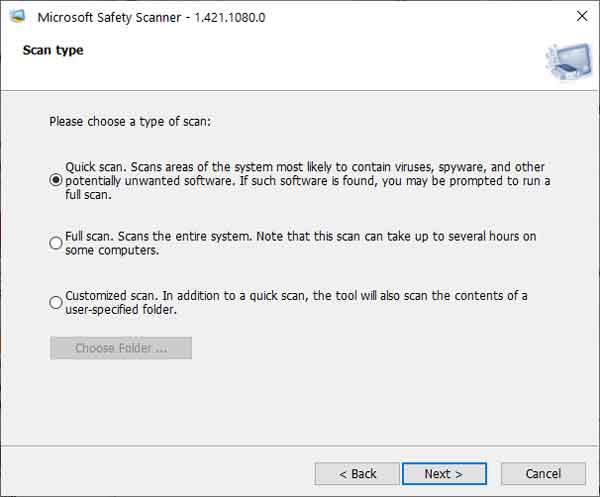
When it comes to scanning for viruses and malware, Microsoft's Safety Scanner is a powerful utility. Even though the user interface is kind of sparse, the true power is built into it.
Since this program is updated on a pretty regular basis, you will defiantly want to download it when you are ready to perform a scan. Keep in mind that this program is date stamped and will run only for ten (10) days after it was downloaded.
There are only a couple of choices regarding the types of scans it will perform; Quick, Full, or Customized. Be warned that if you choose a full scan, it can take hours or even days to complete, depending on how much data your drive(s) contains.
Remember that the Microsoft Safety Scanner is for manually scanning for malware and viruses and does not replace the need for a full-time anti-virus program.
For more information on Microsoft's Safety Scanner, follow the link below.
Microsoft Safety Scanner
Sysinternals Suite
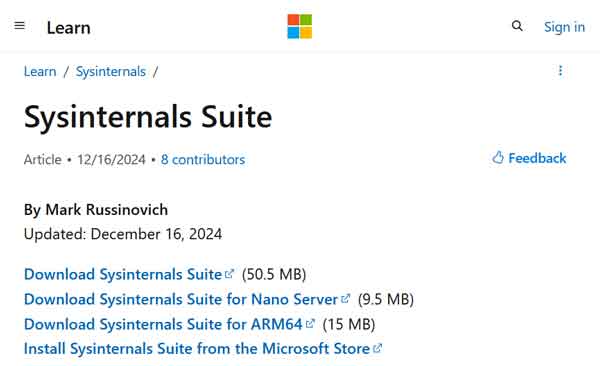
With over seventy utilities, Microsoft's Sysinternals Suite has the most extensive set of diagnostics tools. Sysinternals have been around for more than two decades and have become a staple in computer technicians' toolbox.
Every single program in the suite is a stand-alone program and does not require installation. You can download the complete suite of utilities in a single ZIP file or a single utility separately; it is your choice.
Now you have to remember that the Sysinternals Suite does not automatically update any of its programs. But there are script files out there that can download updated files.
There is also the Sysinternals Live service that allows you to run the tools directly from the web. That way, you will always have the latest and greatest version of any of the utilities.
For more information on Microsoft's Sysinternals Suite, follow the link below.
Sysinternals Suite