Updated April 22, 2024
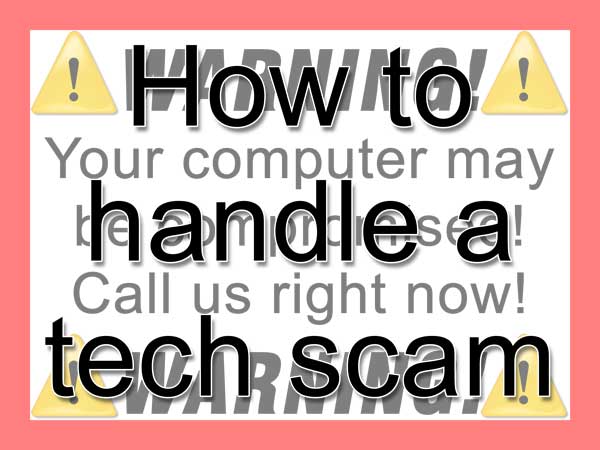
It happens to all of us. You get a pop-up on your computer screen claiming to be from Microsoft, warning you that your computer is infected and that you must call a phone number to get it repaired. This is just another tech scam, and I am going to show you how to handle them.
Tech scams have evolved over the years. They first started as random phone calls but quickly progressed to using pop-ups in web browsers. The one thing they all have in common is that they try to scare you.
Who hasn't received a phone call from someone saying they are from Microsoft or Windows Support? At one point, I was getting two to three per week, but they started to slow down when Microsoft began prosecuting companies for using their company name.
Note: Remember that Microsoft will never contact you, either by web page pop-up or phone call.
So, they started using ads on websites to scare you. Since the majority of ad networks do not actively monitor the ads that are displayed, sneaking in a malicious ad is not that hard.
Now, I am talking about ads that open a new browser tab or window and claim your computer is infected. Some of them will have an animated image that shows files being scanned or even play an audio file saying your computer is infected.
The bottom line is they want to gain access to your computer. The majority of scams my customers have encountered have attempted to get remote access to their computers and then access to their bank accounts. And if a scammer can get remote access, they can even hold your system for ransom. The following is a true story.
A customer called one day, telling me that a pop-up appeared telling them that their computer was infected. Believing that it was from Microsoft, they called the phone number and gave them access to their computer remotely.
During the remote session, the customer realized it was a scam, hung up the phone, and disconnected from the Internet. They then called me. I showed up and started cleaning up their computer.
But the first time I restarted their computer, it came up with a system lock. The tech scammers had put a software lock on it to get them to pay to unlock it. Luckily, I restored the registry from a couple of weeks earlier and unlocked the computer. But it could have been a whole lot worse.
How to handle a web-based tech scam
As I mentioned earlier, web-based tech scams usually come from third-party ads that are displayed on trusted websites. The ads bring up another browser tab or window. Sometimes, they will open a browser in what is called kiosk mode (full screen with no toolbars/title bar and no way of closing them).
Usually, you can close a browser that is in kiosk mode simply by pressing Alt + F4, which should close the active window. But scammers have gotten wise to that keyboard combination. So, most of the time, you must use Ctrl + Alt + Delete and select Task Manager. Once Task Manager appears, right-click on the browser name (Chrome, Edge, Firefox, etc.) and select End task.
Once the bogus ad is gone, open the same browser in which you had the tech scam appearing. You should get a warning about how it did not close properly, and it should ask if you want to open the previously opened tabs.
Ignore the warning; do not open any of the previous tabs, and you should be good to go. You can always run a scan with your anti-virus software to make sure everything is okay.
I am often asked why the installed anti-virus program did not stop the web-based tech scam. The scam was not a virus, just a malicious ad.
How to handle a phone tech scam
This scam is easy to spot. The name on the caller ID will be something as simple as Tech Support or something similar. I have even seen scammers use disposable cellular phones that display a name, like Joe Blow.
Now, the advice I always give for spam emails applies here: If you don't know the person, don't open the email. The same thing applies to phone calls. If you do not recognize the name displayed on the caller ID, don't answer. If it is essential, they will leave a message or call back.
If you answer the call, it is alright to hang up. The scammer cold-called you; you don't have to waste time talking with them. Now, if I'm feeling like having some fun, I'll tell them things like "I don't have a computer", "I don't have Internet access," or my favorite, "Which computer are you talking about?".
But if you really want to know if they are bogus, do a Google search for their phone number. Make sure to use the complete 10-digit phone number, 3-digit area code, 3-digit prefix, and 4-digit line number.
The phone number of a legitimate company will always appear at the top of the search results. You would be amazed at some of the results I have gotten.
The bottom line
I can never say this enough: never give a scammer remote access to your computer! They cannot do any harm as long as they cannot get inside your computer.
So, what can you to protect yourself from tech scams?
For web-based tech scams, install an ad blocker in your browser. Adblock Plus is the most popular ad blocker. If you encounter a browser page or pop-up that informs you that your computer's security is at risk, close the browser using one of the methods listed above. And whatever you do, never call the phone number shown on the page.
For phone tech scams: Use your caller ID to screen incoming phone calls. If you do not recognize the name, let it go to voice mail.
And if you feel like taking it a little further, you can always report the scammers to the FTC (Federal Trade Commission). The FTC has a relatively simple online complaint form. Just make sure you have the company name they used and the phone number they called you with or displayed on your screen.
Federal Trade Commission
FTC Consumer Information on Phone Scams