Updated September 24, 2020
Most computers (laptop & desktop) nowadays come with a Hard Disk Drive (HDD) as standard equipment with a Solid State Drive (SSD) as an option. Each drive type has its pros and cons: HDD's are cheaper and have more storage, but SSD's are extremely fast (especially when connected to an M.2 slot). So if your existing computer has an HDD, odds are you could replace it with an SSD. Here's how to upgrade your computer hard disk drive to solid-state drive.
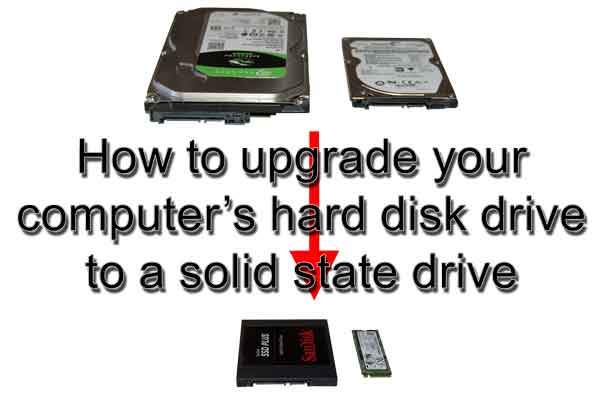
I wrote an article not long ago on how to upgrade the hard drive in your computer and refer back to it often. It describes how to clone a smaller drive to a larger one of the same type. Since SSD's typically have less storage than HDD's, this time I'll have to shrink the existing HDD (80 GB) partition(s) down below the capacity of the target SSD (64 GB) before I can clone it.
As in the article mentioned above, the first thing to do is a Checkdisk of the existing HDD. Doing this will ensure there are no errors that may prohibit the cloning of the drive.
Running Checkdisk in Windows Vista / Windows 7
Running Checkdisk in Windows 8
Running Checkdisk in Windows 10
Now we have to start cleaning up the drive. Windows has a built-in tool called Disk Cleanup (cleanmgr.exe) that works pretty well at getting out the clutter. Try using it from an admin command prompt; that way, you'll get more options.
Disk Cleanup Windows 7 / Vista
Disk Cleanup Windows 8
Disk Cleanup Windows 10
Since we are trying to get the maximum amount of free space we can, we will have to delete some files, including documents, photos, videos, etc. Doing a backup right now will ensure we have a copy of all of the files if we need to recover some later.
Windows Vista / Windows 7 Backup
Windows 8 Backup
Windows 10 Backup
The next thing I have to do is find out what is taking up space on the existing HDD. For this, I'll use a copy of Space Sniffer. After a quick view, I see I can free up several gigabytes of space by permanently removing the hibernation file and temporarily deleting the swap file. Windows will warn you about having no swap file, but we will be recreating the swap file once the drive cloning is complete.
Disable Windows hibernation
Managing Virtual Memory / Pagefile in Windows Vista
Managing Virtual Memory / Pagefile in Windows 7
Managing Virtual Memory / Pagefile in Windows 8
Managing Virtual Memory / Pagefile in Windows 10
The next thing we need to do to the drive is to defragment it. I'll use Defraggler from Piriform for this task. Once the drive is defragged, it's time to shrink it. To do this, open Computer Management, expand the Storage section in the left column, and select Disk Management. In the right column, right-click on the partition marked as Boot (usually C:) and select Shrink. Remember to take the size down at least 10-15% below the capacity of the new SSD.

Shrinking a partition down in Windows 7
Once the partition has been resized, it's time to clone the drive. The following article has details on how to clone your hard drive, including links to the cloning software.
How to upgrade the hard drive in your computer
Note: An issue not addressed in the article above is the form factor; the existing SATA HDD is 3.5" form factor, and SATA SSD's are 2.5" form factor.

This can easily be resolved by using a pair of 2.5" to 3.5" adapter brackets.
Once the drive cloning is complete, and the system is running again, we need to expand the boot partition to use any free space available. Open Computer Management, expand the Storage section in the left column, and select Disk Management. In the right column, right-click on the partition mark as Boot (usually C:) and select Expand. Once the boot partition has been resized, you can now enable the Windows swap file.
For more information on upgrading computer drives. click on the following links.
How to clone the drive in your Windows computer
How to upgrade the hard drive in your computer
f87bb1c9-752f-4aeb-b91a-b829db94016c|0|.0|96d5b379-7e1d-4dac-a6ba-1e50db561b04