Doing computer repair for a living, I see quite a few computers that could benefit from a clean, fresh installation of Windows 10. Almost always, these computers started out running Windows 7 or Windows 8.1 and, at some point in time, were upgraded to Windows 10.

Then, of course, there are times that the registry has gotten corrupted or the hard drive has failed. But whatever the case, a clean, fresh installation of Windows 10 is always a great way to get your computer back to tip-top shape.
Now you might be thinking that just performing a reset of Windows 10 would work perfectly fine. And in most cases, you would be right. But if your computer originally came with Windows 7 or Windows 8.1, you could have problems. Let me explain.
When you bought your computer new, it came with a hidden recovery partition with all of the installation files for your version of Windows. If that version was Windows 7 or Windows 8.1, the data got replaced when you upgraded to Windows 10.
The recovery media issue with upgrading to Windows 10
But the problem that I have encountered is the upgraded recovery partition sometimes doesn't work. So, when you try and reset Windows 10, it fails. A clean installation of Windows 10 fixes that issue. With a clean, fresh Windows 10 installation, you will know that everything will work.
The only down-side to a clean Windows 10 install is the fact that you have to reinstall all of the programs you installed. But if your system will not boot, then it is a moot point. You would have to reinstall them anyway.
Backup and inventory
So, the first thing to do is to backup your computer. You will need an external drive that is relatively large (I use 1TB, and 2TB drives myself) and a blank CD/DVD (system repair disk). Here is an article on how to use Windows 10 Backup.
Backup your files with File History and Windows Backup in Windows 10
The second thing to do is to take inventory of the hardware and software inside of your computer. Use a program like Belarc Advisor to create a list of hardware and software on your computer.
Make sure you print a copy of the results. You can also save a copy to an external drive if you like. But a printed copy will work the best, as you can check off items that you install after the reinstallation of Windows 10.
Create the Windows 10 installation media
This step is relatively easy. All you have to do is download the Windows 10 media creation tool. It is a stand-alone program that does not require installation to run. Just double-click on the application, and you are ready to start.
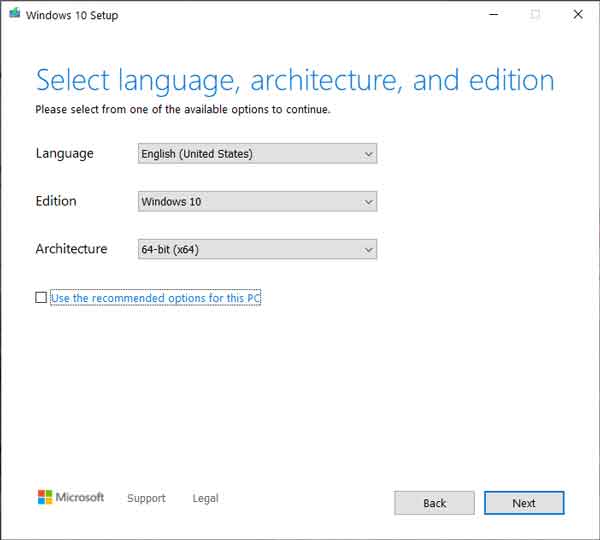
Windows 10 Media Creation Tool options
You will need either a blank DVD or an 8GB USB drive to create the bootable installation media. If you run the media creation tool on the same computer as you are going to reinstall Windows 10 on, it will automatically select the recommenced options.
Clearing the hard drive
Now comes the time to wipe the drive or just the Windows 10 partition. If you have a Dell or HP computer, they have a diagnostic partition, so you may want to wipe just the OS partition only.
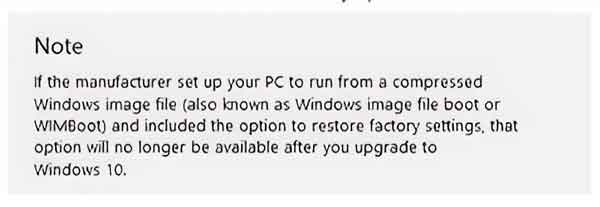
Keep in mind that if you upgraded from Windows 7 or Windows 8.1, the recovery partition that came with your computer to restore factory settings no longer functions. Sometimes it might be better to wipe the whole drive clean and be done with it. But that is entirely up to you.
I like to use the disk wiping tools included on the Ultimate Boot CD (UBCD). All you have to do is download the most current ISO image and burn it to a CD. You can create a bootable USB drive too. The instructions are on the UBCD website.
Now, since the UBCD uses a version of Linux, it may take a little work to get your computer to boot up. If your system has Unified Extensible Firmware Interface (UEFI) enabled, you will have to go into the BIOS and disable it temporarily.
Installing Windows 10
Now that your drive is wiped clean, it is time to install Windows 10. If you are using a DVD, turn your computer on, eject the DVD tray, insert the Windows 10 DVD you created, and restart your computer. If you are using a USB drive, plug it in, and start your computer.
Since there is no operating system, your computer will search all available media for a boot record. Once it finds the Windows 10 media, the installation will begin.
During the installation, you may get a dialog box requesting your Windows 10 product key. Windows 10 is a little different from previous versions of Windows, in that the product key is not stored on your computer, but in the cloud. Microsoft calls it Digital Entitlement.
With Digital Entitlement, you do not need to enter your product key during installation. Just click on the I don't have a product key link on the bottom of the screen. Once the installation is complete, Windows will automatically activate the first time your system can get online.
From here, all you have to do is install the programs and features you want. Then sit back and enjoy your clean, fresh Windows 10 installation.