Does your Windows 8 computer take a long time to boot up or open programs? Does it seem like the hard drive light is always on? Then you might be able to speed up your computer by using ReadyBoost inside of Windows 8 and Windows 8.1.
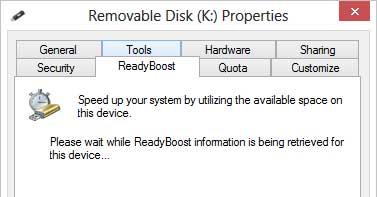
ReadyBoost testing a USB flash drive for capability in Windows 8
ReadyBoost is a disk caching software that allows you to use a compatible storage device (USB flash drive, SD card) as a hard drive cache for increasing the read access time to the hard drive. ReadyBoost will work with Hard Disk Drives (HDDs) and not Solid State Drives (SSD's), as SSD's already have fast read access times.
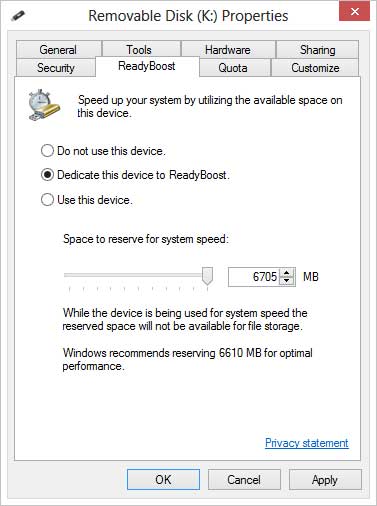
ReadyBoost options for a USB flash drive inside of Windows 8
You can use USB flash drives, SD cards, flash memory, or SSD's with ReadyBoost. Keep in mind that you will need to keep the storage device attached to the computer at all times. For desktops, think about using a spare USB port or two on the back of your system. ReadyBoost supports USB 2.0 or higher, so USB 3.0 port(s) would be preferred. For laptops, think SD card (if you have an SD reader built-in).
You will also need to format your storage device in NTFS or exFAT to get a ReadyBoost cache file larger than 4GB. The maximum ReadyBoost cache size is 32GB, and you can have up to eight (8) storage devices on one (1) system for a maximum total of 256GB. The recommended ratio of ReadyBoost memory to system memory is 1:1 to 2.5:1
Here are some tips for selecting a storage device from Microsoft's website:
The minimum amount of available space recommended for ReadyBoost to effectively speed up your computer is 1 GB.
For best results, use a flash drive or flash memory card with available space of at least double the amount of memory (RAM) in your computer, and preferably four times as much memory. For example, if your computer has 1 GB of RAM and you plug in a 4 GB USB flash drive, set aside at least 2 GB on the flash drive to get the best performance gain from ReadyBoost, and preferably the entire 4 GB. How much memory you need depends on how you use your computer. Keeping a lot of programs open at once uses more memory.
Give ReadyBoost 2 GB to 4 GB of space for the best results on most computers. You can reserve more than 4 GB of space for ReadyBoost on most flash drives and flash memory cards. (Storage devices formatted with the older FAT32 file system can't store more than 4 GB.) You can use a maximum of 32 GB of available space on any single removable storage device with ReadyBoost and up to 256 GB total per computer (by inserting up to eight USB flash drives or flash memory cards into the same computer).
To work with ReadyBoost, a USB flash drive must support USB 2.0 or higher. Your computer must have at least one free USB 2.0 port where you can plug in the flash drive. ReadyBoost works best if you plug the flash drive into a USB port directly on the computer, rather than into an external USB hub shared with other USB devices.
If you want to be sure a USB flash drive works with ReadyBoost, look for a note from the manufacturer that the flash drive is "Enhanced for ReadyBoost." Not all manufacturers list this on their packaging. If there is no mention of ReadyBoost compatibility, the flash drive still might work with ReadyBoost.
There are many different kinds of flash memory cards, such as CompactFlash and Secure Digital (SD) memory cards. Most memory cards work with ReadyBoost. Some SD memory cards don't work well with ReadyBoost due to issues with the SD card interface. ReadyBoost will display a warning message if you attempt to use one of these cards.
How to turn on ReadyBoost in Windows 8 / Windows 8.1
- Insert the storage device.
- Open the File Explorer:
A. Swipe in from the screen's right edge or press the Windows logo key  + C to bring up the Charms bar and then tap or left-click Search. Enter File Explorer in the search box, and then tap or left-click Apps. Tap or left-click File Explorer in the search results.
B. On the Desktop, left-click on the File Explorer (manila folder) icon on the Taskbar.
C. Press the Windows logo key + E.
- Right-click on the storage device you want to use with ReadyBoost and select Properties.
- From the Properties dialog box, select the ReadyBoost tab.
- Select your choice of options and click on Apply.
e551bfd4-fdcd-4ca9-85de-ba919aec49d4|0|.0|96d5b379-7e1d-4dac-a6ba-1e50db561b04