Computer problems happen when you least expect them. But having the software to repair your computer is essential. So here is how to create a recovery drive in Windows 10 and Windows 11.

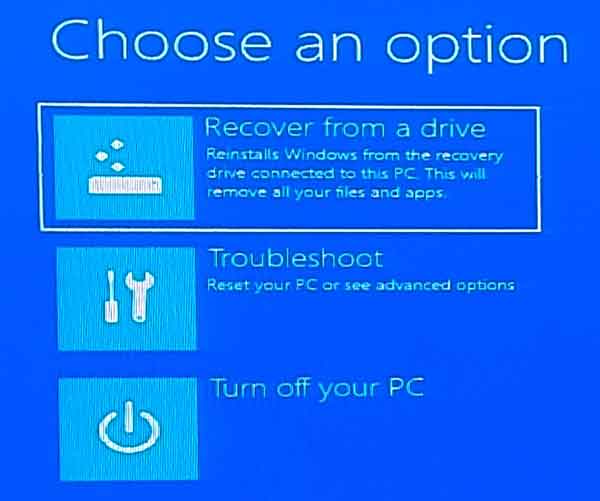
So what is a recovery drive? It is a bootable USB drive with all the system tools that normally appear in the advanced options menu. This is the menu that appears when your computer fails to boot correctly.
If you have not heard of a recovery drive, you are not alone. A good majority of Windows users do not know about this great device. Sadly, most learn about having a recovery drive only after their system has experienced a problem.
Now it is easy to confuse a recovery drive with a system repair disk, as they perform the same functions. But with a recovery drive, you can also reinstall Windows if you need to.
System repair disks have been around for decades, but recovery disks first appeared in Windows 8.
What is the difference between a recovery drive and a system repair disk? Essentially they are the same; the only difference is the media you use to create them. A recovery drive uses a USB drive, and a system repair disk uses, as the name implies, a CD / DVD. And with more computers coming without optical (CD/DVD/BD) drives, most people can only use a recovery drive.
The list of options is the same as if your computer did not boot correctly and you got the advanced options screen. Startup Repair, Command Prompt, Uninstall Updates, UEFI Firmware Settings, System Restore, and System Image Recovery.
How to open Recovery Drive inside of Windows 10
- Left-click on the Start button
 to bring up the Start menu.
- Scroll down the list of programs and left-click on Windows Accessories.
- Double left-click on Recovery Drive.
or
- Using the search box on the right side of the Start button, type in Recovery Drive,
- Left-click on it in the search results.
How to open Recovery Drive inside of Windows 11
- Left-click on the Start button to bring up the Start menu.
- In the upper right-hand corner of the Start menu, left-click on All apps.
- Scroll down the list of programs and left-click on Windows Tools.
- Double left-click on Recovery Drive.
or
- Left-click on the magnifying glass to the right of the Start button to bring up the Search dialog box.
- In the Search dialog box, type Recovery Drive.
- In the list of results, Recovery Drive should be highlighted.
- Left-click on Recovery Drive.
How to create a recovery drive
The requirements for creating a recovery disk are pretty simple, a USB drive that is 16GB or larger. I would recommend 32GB just to be on the safe side. Note: The USB drive you use for the recovery drive will be erased and reformatted when you create it. Please copy or move anything on the drive you want to keep before creating the recovery drive.
I would also like to mention that the time it takes to create a recovery drive that includes system files can be long. It may take a few hours, so be prepared to allow your computer the time it needs to complete the creation of the recovery drive.
The first screen that appears when you open the Recovery Drive app is where you decide whether or not to include a backup copy of Windows.
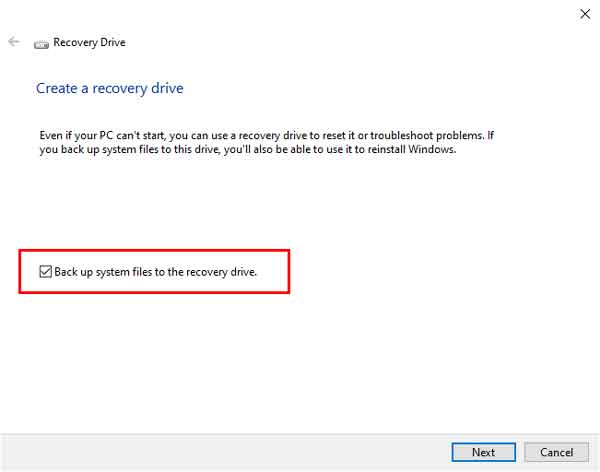
Since you would likely only be using this drive if your computer will not function properly, I recommend including the systems files in the recovery drive.
If you decide to include the system files, you will need to update the recovery drive periodically. I would update every six to twelve months; that way, if you do need to reinstall Windows from the recovery drive, it will be as current as the last time you updated the recovery drive.
The next screen asks you what drive you want to use for the recovery drive.
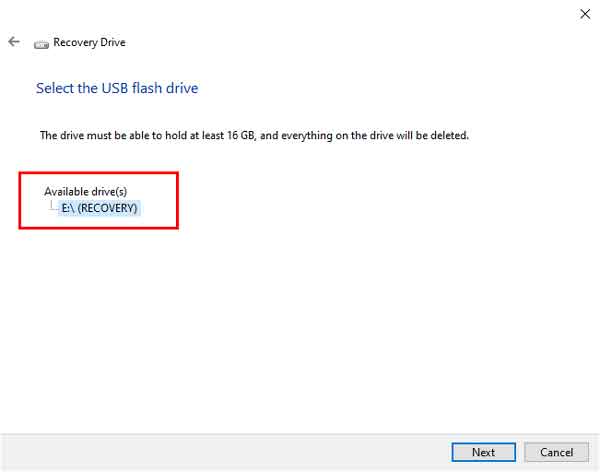
Select the drive and click on Next. One final warning screen appears.
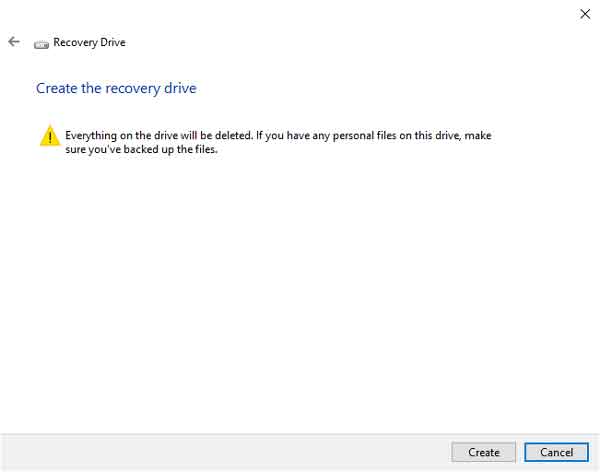
Just click on Create. Now just read some email or social posts because this will take some time. Once the recovery drive has been created, remove it and put it in a safe place.
0175305d-10ed-42fd-af71-37380a71478e|1|5.0|96d5b379-7e1d-4dac-a6ba-1e50db561b04