In the decades I have been using computers, one combination of keys on the keyboard has been the 'holy grail', the genuinely fool-proof way of regaining control of an unresponsive program or computer, Ctrl+Alt+Del.
As most of you know, I am a big fan of keyboard shortcuts, especially Windows Logo key shortcuts. But when it comes to personal computers, the single, most powerful combination of keys has to be Ctrl+Alt+Del (Control-Alt-Delete).
The history of Ctrl+Alt+Del, or the "three-finger salute" as it is more commonly known, was created by an engineer at IBM working on the original IBM PC project in the '80s as a way to execute a soft reboot. The keys were selected for their location on the keyboard so that it required both hands to press all three keys at the same time. That way, you could not accidentally reboot your computer.
The Ctrl+Alt+Del key combination is built into every IBM PC clone computer's BIOS (Basic Input/Output System). Even today, the Ctrl+Alt+Del key combination will still reboot an IBM PC when it is started into the BIOS. And in Windows, Ctrl+Alt+Del has a couple of different uses.
The first use of Ctrl+Alt+Del inside Windows 10 and Windows 11 is to bring up the login screen. Typically, only users whose computers are connected to a domain will be required to use the "three-finger salute" to log on. Every day Windows users are only required to press any key to bring up the login screen.
The second use of Ctrl+Alt+Del inside Windows 10 and Windows 11 is the best and probably the most unknown use. When you are logged into Windows and press Ctrl+Alt+Del, it brings up Windows Security in full screen.
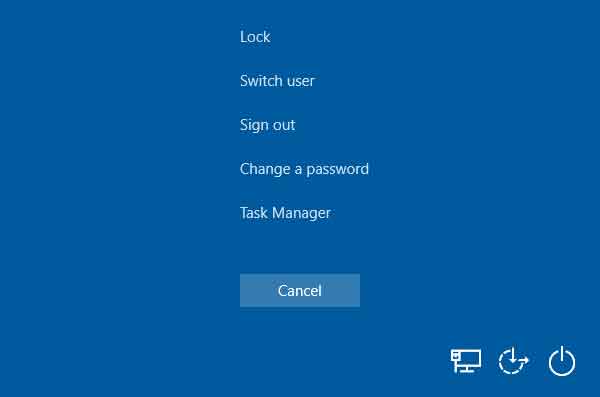
The Windows Security screen inside of Windows 10
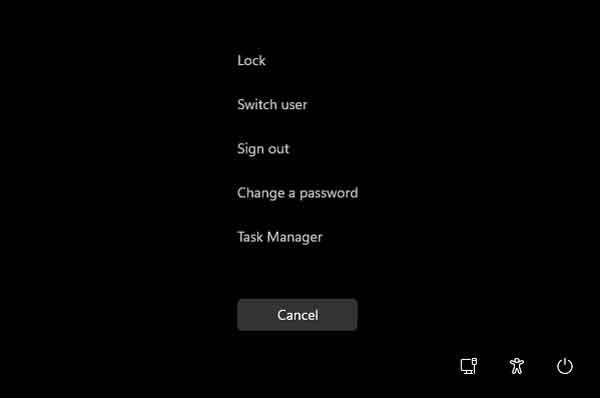
The Windows Security screen inside of Windows 11
The Windows Security screen gives you five (5) options, including Lock, Switch user, Sign out, Change a password, and Task Manager. There are three (3) more options in the lower right-hand corner: Internet, Ease of access, and Power. Here is a list of all the functions.
Lock: This button will lock the computer and require the user who is currently signed in to log on again to unlock the computer.
Switch user: This button will allow another user to log on to the computer.
Sign out: This button will sign out the currently logged-in user. Note: If you have an unresponsive program or a program that you cannot close (like junkware), signing out will close all open programs and then log the current user off.
Change a password: As the name implies, it will change the user's password that is currently logged in.
Task Manager: This button will open the Task Manager. Task Manager has several functions, including managing the running tasks and monitoring system resources. Note: You can also forcibly terminate processes or programs that have become unresponsive.
Internet: With this button, you can select the network connection to use for the Internet.
Ease of access (Windows 10) / Accessibility (Windows 11) - This button allows you to turn on and off Narrator, Magnifier, On-Screen Keyboard, High Contrast, Sticky Keys, and Filter Keys.
Power: This button has two (2) options, Shut down or Restart.
5598edfc-9a84-4f33-9199-42cc0ba6cb62|2|5.0|96d5b379-7e1d-4dac-a6ba-1e50db561b04