By now, you must have heard about the Windows 10 Creators Update. There is plenty of information about the new features on the Internet, but nobody tells you how to perform a manual installation. So, let's walk through a manual Windows 10 Creators Update installation.
So, Microsoft has released the latest major update for Windows 10, the Creators Update. With all of the hype about the new features, it was time to check them out.
Now with major updates like this one, I used to install them the day they were released. I hate to admit it, but I went out and purchased Windows 95 the day it was released. Not one copy, but two (floppy disks and CD).
But after having issues with being an early adapter, I started taking the 'wait and let all of the bugs get worked out' approach. There is nothing like spending a couple of hours restoring your primary production computer after a failed update or upgrade.
And to make sure that nothing would happen to my production computer, I decided to use a Virtual Machine (VM). For this exercise, I wanted to work with a vanilla installation of Windows 10. No additional software had been installed, including an anti-virus program.
Now the first thing I did was set up a VM with the most recent version (1607) of Windows 10. I then made sure that it was entirely up to date with patches. I then shut down the VM and backed it up.
If I were upgrading a regular computer, I would use Windows Backup inside Windows 10. And of course, you don't want to forget to make the accompanying System Repair Disk. See the link below for more information on Windows Backup.
Backup your files with File History and Windows Backup in Windows 10
Now that I have a known good backup, it was time to start the manual update. I opened up the
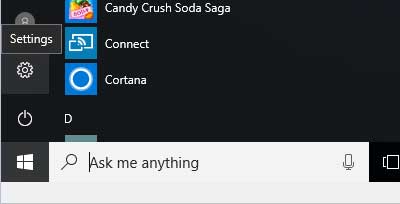
Settings in Windows 10 and left-clicked on Update and security.
Windows Update is the first tab on the left-hand column and is also the default page for Update and security.
In the right-hand column, there is a link below the blurb about the Windows 10 Creators Update being available.

Left-click on Yes, show me how and it takes you to a page about the Creators Update.
On that page, there is a link labeled Update Assistant.
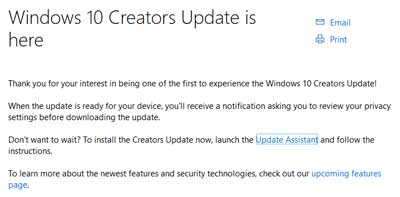
Left-click on it will start the download of the Windows 10 Upgrade program. Save it on your computer, open the folder you saved it to, right-click on the Windows 10 Upgrade program and select Run as Administrator from the context menu that appears.
The first screen shows me the current version of Windows 10 and what version it will be when the update is complete.

I left-click on the Update Now button in the lower right-hand corner.
The next screen gives a compatibly report, and everything is good to go.
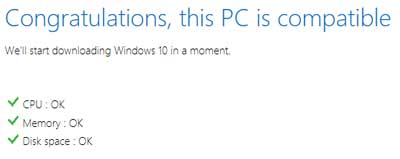
Before I have a chance to click on the Next button in the lower right-hand corner, the download automatically begins.
The next screen shows me the progress of the download.
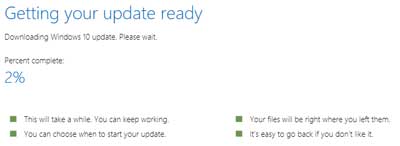
Before I know it, the download is complete, and the installation begins-time to grab another cup of coffee.
The next screen shows the progress of the update installation.
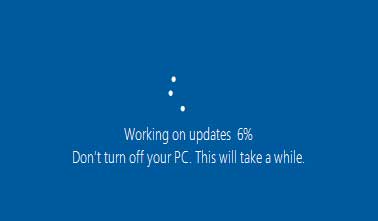
I love the warning about not turning your computer off like someone would get this far and then say 'forget it' and turn their computer off. But the note on the update taking a while to install is correct.
Finally, after a couple of restarts, the VM comes back to life with the intro screens. You know the ones that say Hi, We didn't do anything with your files.
Finally, the desktop appears with a Thank you for updating page and Microsoft Edge displaying a welcome to the Windows 10 Creators Update info page.

The update is now complete.
So how long did the update take? Almost two (2) hours. And remember that this was a vanilla install of Windows 10 that I updated. I would imagine updating a system that has been in use for a while may take longer.
You will notice that the Windows 10 Upgrade Assistant was been installed with the update. There are shortcuts to it on the Desktop and the Start Menu. If you would like to uninstall the Windows 10 Upgrade Assistant, here's how.
- Left-click on the Start Menu and left-click the Settings icon (it looks like a gear).
- Then left-click on Apps.
- Scroll down the list of apps in the right-hand column until you find the Windows 10 Upgrade Assistant.
- Left-click on it and then left-click on Uninstall.
ea4c995b-f884-4ff5-b75a-ecdafd8b5bcb|0|.0|96d5b379-7e1d-4dac-a6ba-1e50db561b04